

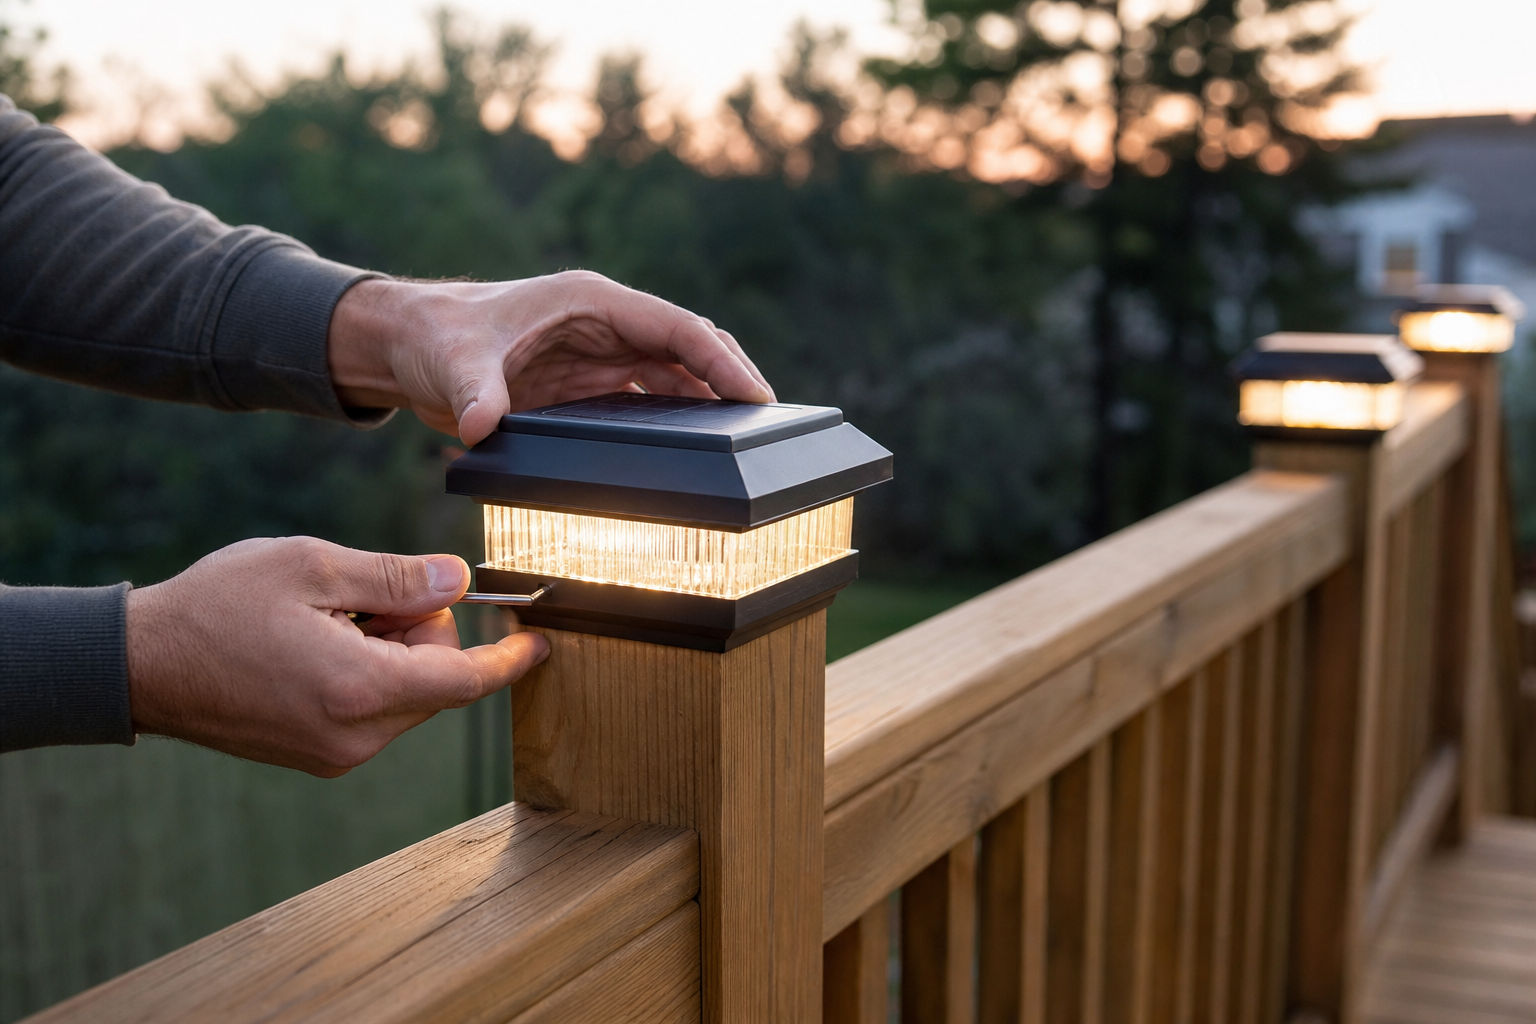
Quick answer: Measure the actual post tops and match them to the cap or supplied adapter, check sunlight at each location, then follow the exact mounting and charging instructions. Count posts, not just fence length: six caps mark six posts and five gaps. Test a small section before fitting the whole run.
Our Solar Post Cap Lights are one of the easiest outdoor upgrades you can do yourself. Here’s the full step-by-step, plus spacing examples and deck-and-fence lighting ideas to get the best look.
Before you start: confirm your post size
Measure the outside width and depth of the surface the cap will actually fit over, including any post sleeve. Do not rely on the nominal post name alone. Compare those measurements with the selected cap opening and any adapter dimensions in its instructions. Check corner and gate posts separately; they may differ from the rest of the run.
Before removing an existing cap, check how it is attached and whether the replacement maintains the post system as intended. Do not cut or reshape a structural post to make a lighting accessory fit. Prepare only the tools and fixings specified for that cap and post material.
Step-by-step installation
- Prep the post top. Remove any existing decorative cap so the solar cap can sit flush. Make sure the top is clean, dry, and level so the base sits flat without tilting.
- Activate and charge first. Check for an on/off control or battery-isolation tab and follow the supplied setup sequence. Charge for the period specified by the manufacturer in an unobstructed sunny location before testing.
- Mount one cap first. Dry-fit the base or adapter and check that it sits squarely. Use only the fastening method allowed by both the light instructions and the post system. If screws are specified, use the recommended size and pilot-hole guidance; if adhesive is permitted, check surface compatibility and cure time. Keep any serviceable battery compartment accessible.
- Aim for the sun. Position each cap so its panel is unobstructed and faces the direction that gets the most daily sun. Avoid posts shaded by trees, eaves, or umbrellas.
- Test it at dusk. Observe the first cap from the places where you will sit or walk. Check for glare, unstable mounting and dark patches. Record when it switches on and how long it stays useful; automatic dusk switching does not guarantee all-night runtime.
How many caps do you need?
Existing post positions determine where caps can go. Mark each post you want to light on a quick sketch, counting shared corners once and gate posts separately. Decide whether you want each post outlined or just selected accents; there is no universal spacing that guarantees an even wash from every light.
Worked example: six posts create five gaps. At 4 feet between posts, the distance from the first to last post is 20 feet; at 6 feet, it is 30 feet. That is a layout calculation, not a promise that the lights illuminate all of the ground between them. A closed perimeter needs its own post count.
Start with one section and view it after dark before ordering the remaining quantity. If the layout looks good but a walking surface remains dark, use suitable additional lighting instead of assuming more decorative caps will solve it.
Deck and fence lighting ideas
- Check stair visibility separately. A glowing post does not prove that the treads and edges below are adequately lit. Keep existing stair lighting and evaluate the walking surface after dark.
- Outline the perimeter. Evenly spaced caps trace the shape of a deck or fence and make the whole yard read as “finished” at night.
- Frame the entrance. A matched pair on the posts flanking a gate or deck entry creates a welcoming focal point.
- Layer your lighting. Post caps give soft ambient glow; pair them with pathway or stair lights where you need brighter, task-level safety lighting.
- Match the finish to the post. Black blends into dark-stained wood; White suits painted or light vinyl fences — choose from the finishes currently offered.
Keeping them working
Maintenance is minimal: wipe the panel with a soft, damp cloth now and then so it keeps charging, keep the caps in direct sun, check mount stability after seasonal shifts, and don’t submerge them or aim sprinklers directly at them.
| Fits | Match measured outside post/sleeve size to cap and adapter dimensions |
|---|---|
| Spacing | Use existing posts; test the visual result at dusk |
| Mounting | Use only methods approved for both cap and post |
| Wiring | Solar charging; dusk activation does not guarantee all-night runtime |
| Coverage | Six posts = five gaps: 20 ft at 4-ft spacing, 30 ft at 6-ft spacing |
Frequently asked questions
Do I need an electrician or any wiring?
Self-contained solar caps do not need a new mains wiring connection. Follow the exact setup and mounting instructions; do not alter existing electrical wiring or structural posts to fit them.
How far apart should I space post cap lights?
Use the existing post layout and test the lighting after dark. Six caps on six posts span five gaps: 20 feet at 4-foot spacing or 30 feet at 6-foot spacing. This does not guarantee continuous ground illumination.
Should I use screws or adhesive?
Use only the method approved by the cap manufacturer and the post system. Adhesive is not an interchangeable substitute for screws, and any serviceable battery compartment must remain accessible.
Will they fit my 6x6 deck posts?
Do not assume that a cap advertised for another size will fit. Measure the outside post or sleeve and compare it with the selected cap opening and listed adapters before ordering.
How long do they take to charge?
Follow the initial charging time in the supplied instructions. Test your installation after a full charge; shading, weather and season can change the useful evening runtime.
More outdoor lighting guides
- Solar post cap lights — do they work & what fits
- Solar flame torch lights — complete guide
- Shop all outdoor lighting
Prices and specifications are current as of publication and may change. See the product page for the latest details.